3D Flyover

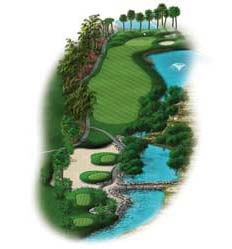
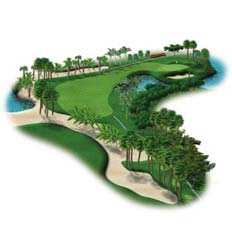
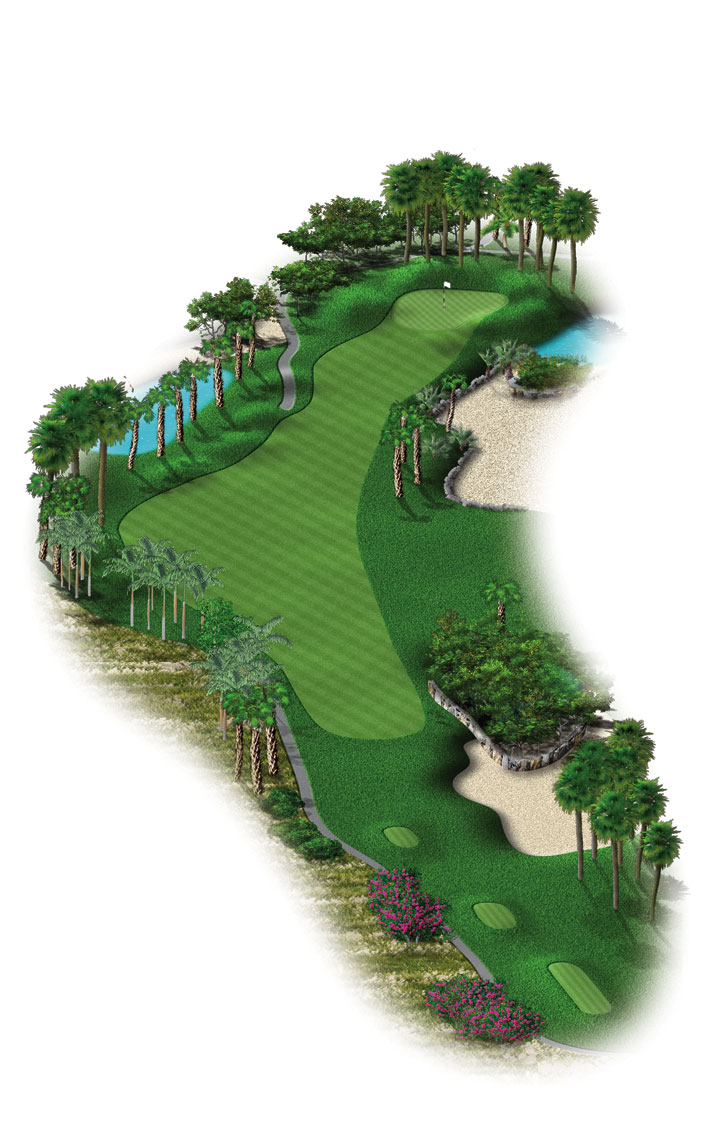
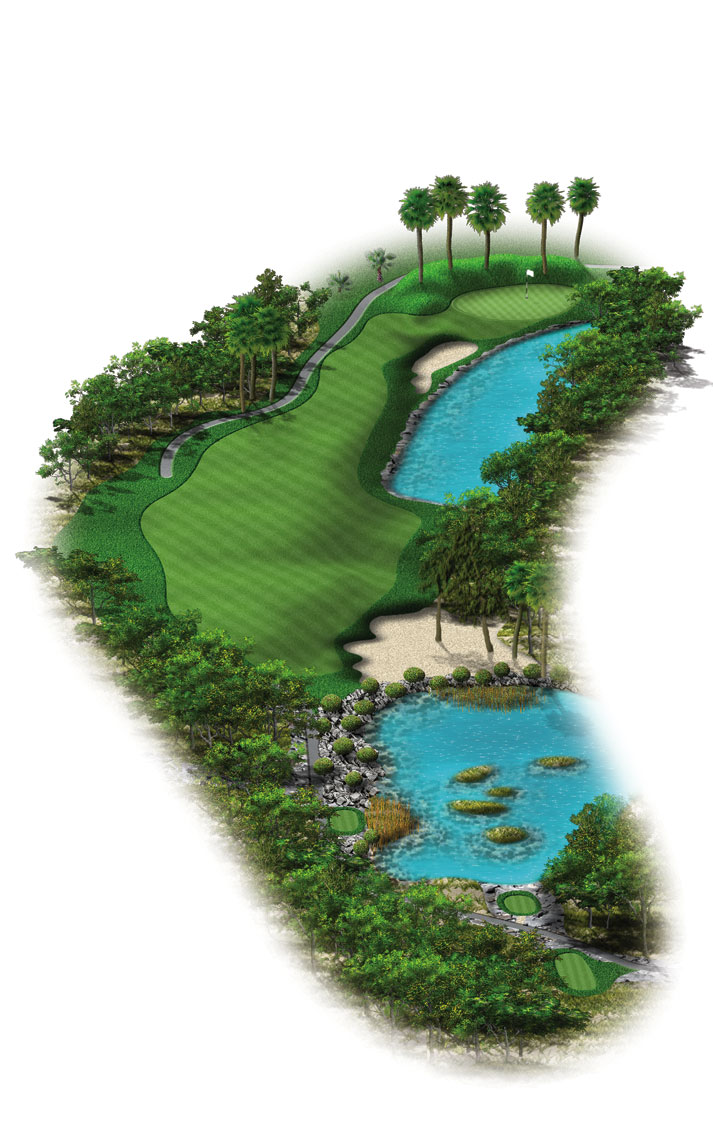
PAR 4 : HANDICAP 15

Yardage: Black 348; Blue 333; White 312: Red 308

Description: This fairly wide opening hole can be a little deceiving. The large waste area on the right is hidden and out of bounds can sneak in quickly on the left and the hole almost always plays into the wind. Fades and draws off the tee are always exaggerated. Par makes for an excellent start.

Pro Tip: Take one more club when hitting your approach shot to the green.

3D Flyover

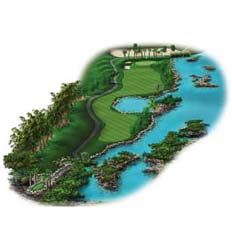
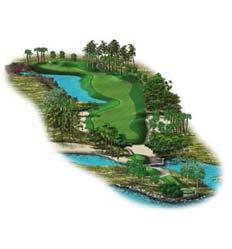
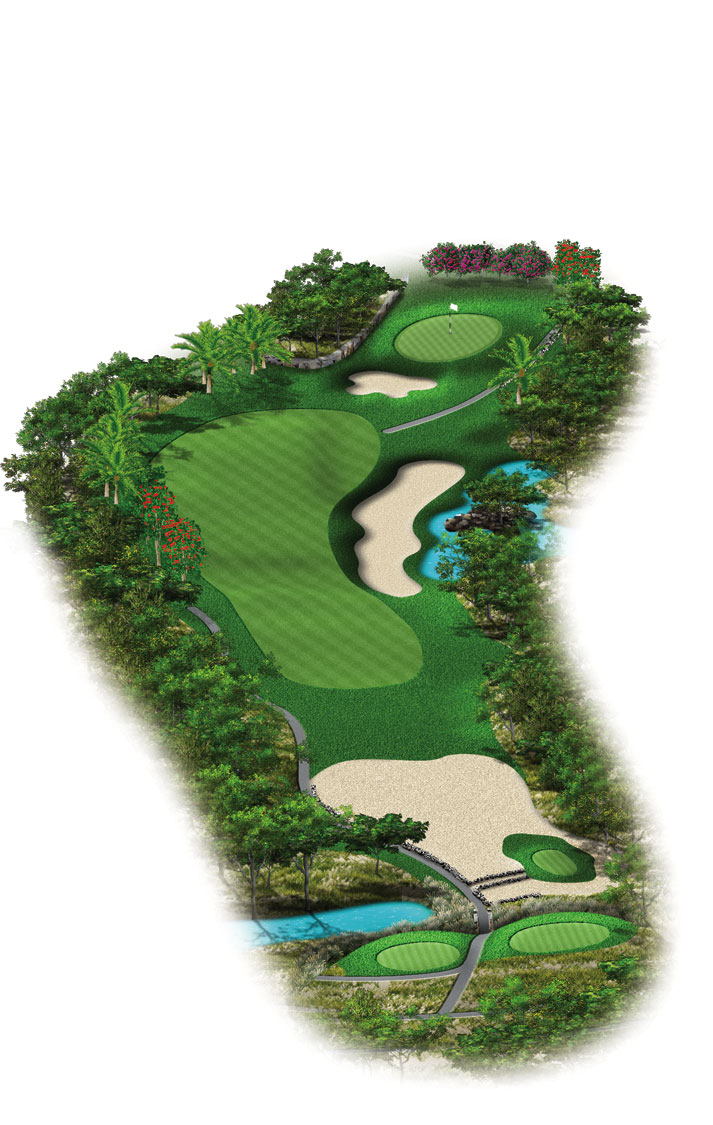
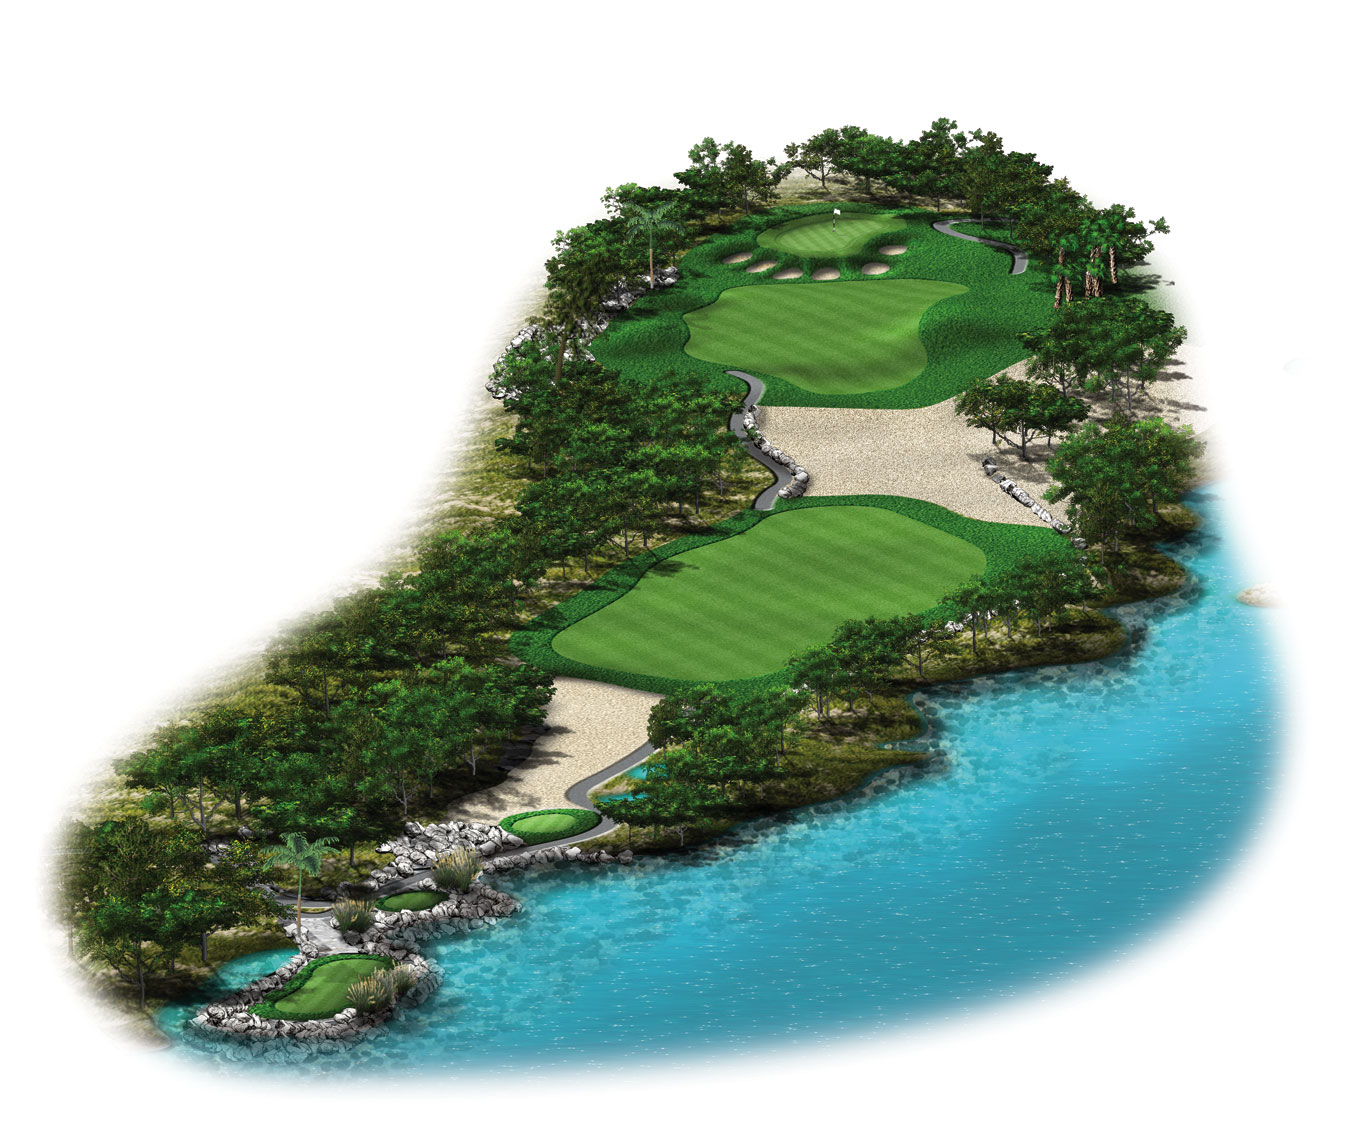
PAR 4 : HANDICAP 5 (Men) 11 (Ladies)

Yardage: Black 409; Blue 375; White 333: Red 297

This next par 4 needs special attention on the tee shot. Drivers have a tendency to run from left to right towards the water and are usually helped as the prevailing wind will also push the ball right. A good drive down the left side of the fairway will lead to a mid to short iron approach into a deceptively tricky green.

Pro Tip: This green is deceptively fast when putting from front to back.

3D Flyover

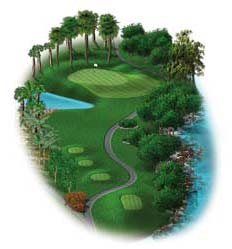
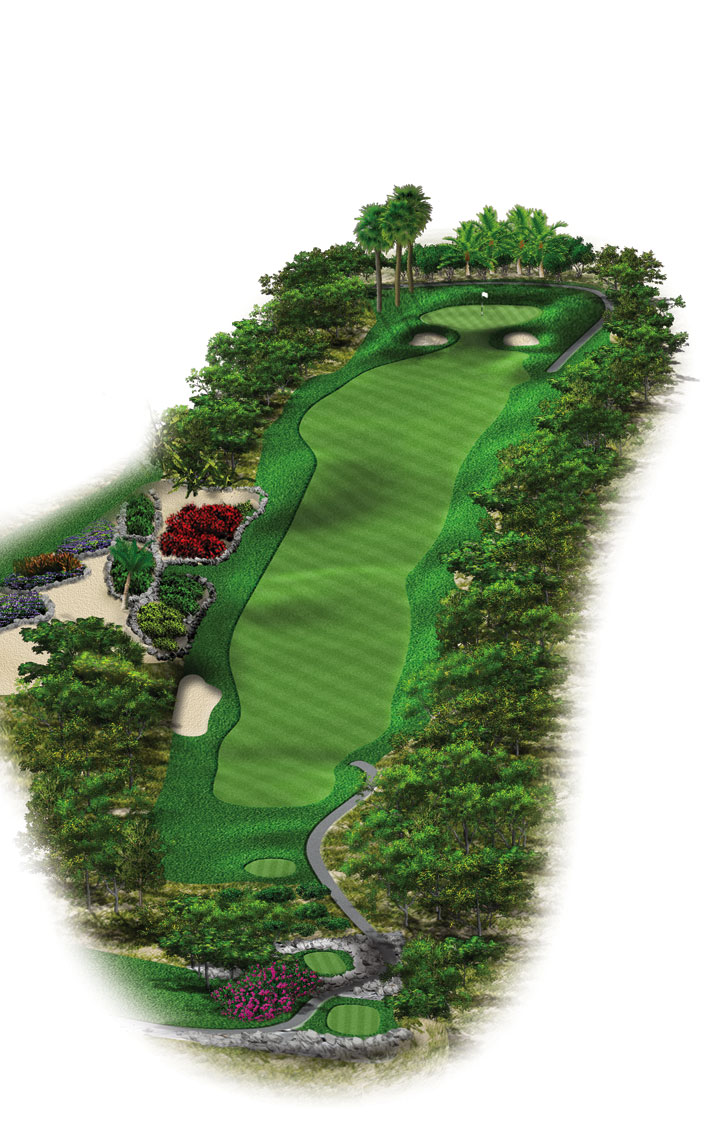
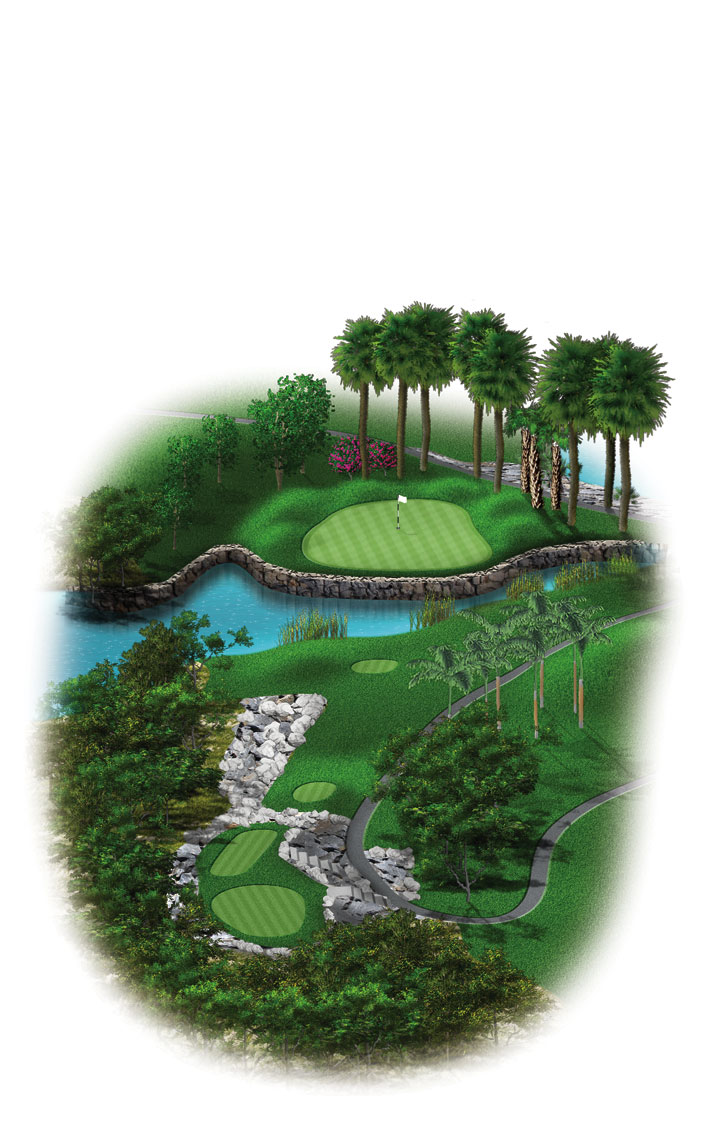
PAR 5

Yardage: Black 526; Blue 512; White 485: Red 434 Handicap: Men 3; Ladies 1

Water Haven! This par 5 plays dead into the wind. After your tee shot has been negotiated, don't let the flamingos distract you as your second shot requires a good carry over more water. Two good shots leave you with a pitch shot into this well protected narrow green. This par 5 provides a great chance at birdie but can also lead to a quick 7.

Pro Tip: Aim your drive down the left side, following the cart path.

3D Flyover

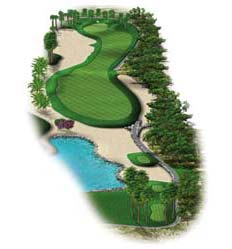
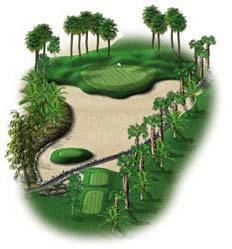
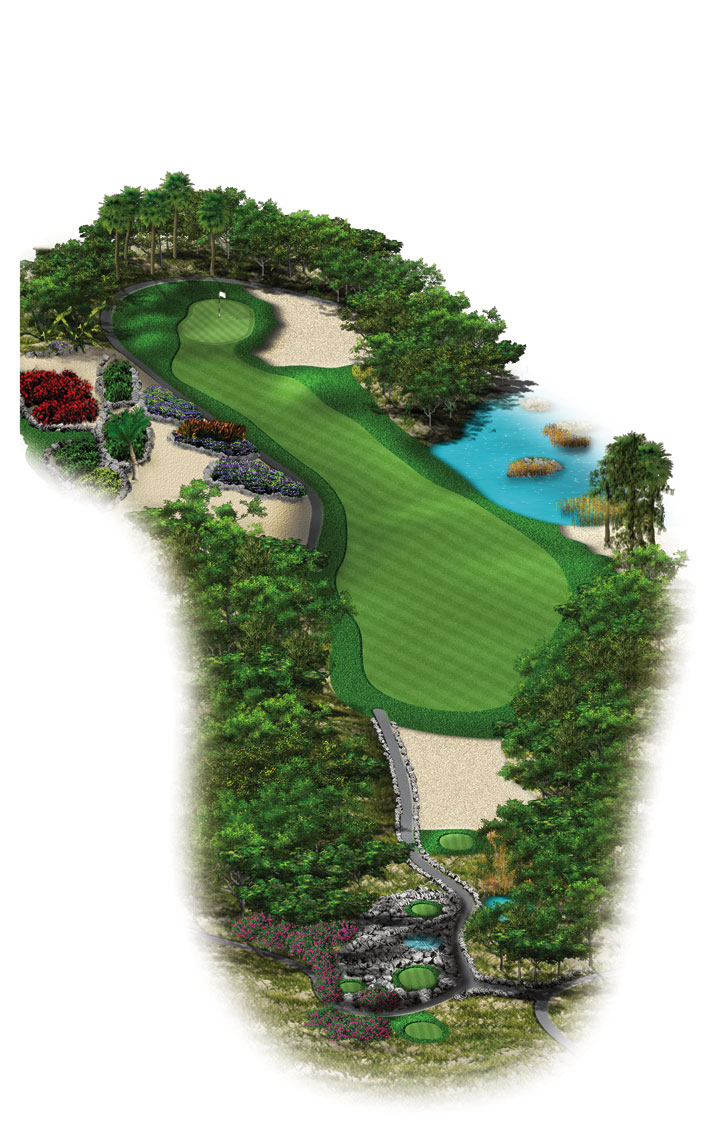
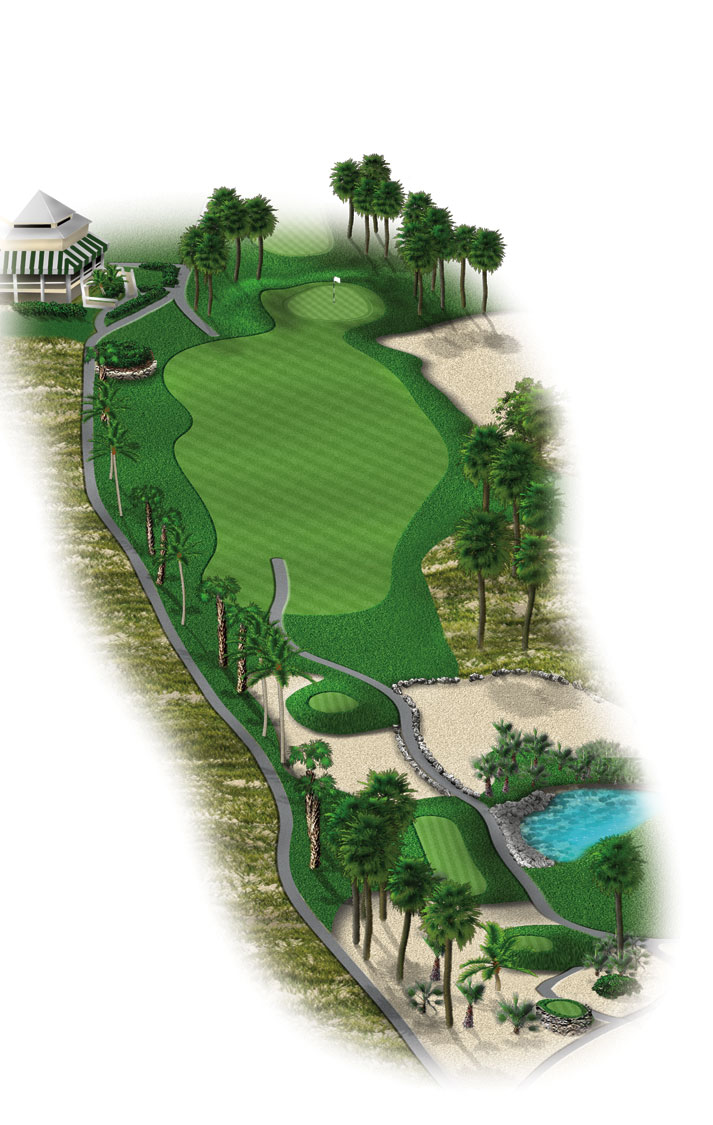
PAR 3 : HANDICAP 11 (Men) 7 (Ladies)

Yardage: Black 200; Blue 166; White 145: Red 125

This tough par 3 plays directly into the wind. As if 200 yards over a large pond isn't enough, you need to be accurate as well. A par here on this large green can be a great score. This hole is easily the toughest par 3 on the course.

Take extra club off the tee to insure you carry the water. Very little trouble behind the green.

3D Flyover

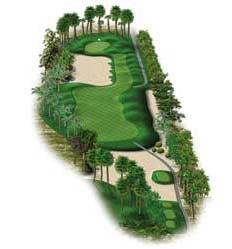
PAR 4

Yardage: Black 389; Blue 369; White 341: Red 291 Handicap: Men 13; Ladies 13

Placement is key as you will need to position your tee shot properly in the narrow landing area which will leave a short shot to an elevated green that is guarded by the large waste area. Properly hit approaches hold, others do not on this small tricky green.

Pro Tip: Aim your tee shot slightly left for positioning. The waste area and bush on the right sneak in quickly!

3D Flyover

PAR 4 : Handicap: Men 9; Ladies 9

Yardage: Black 386; Blue 358; White 328: Red 328 Handicap: Men 9; Ladies 9

Boomerang right! Play your tee shot safe towards the middle of the fairway or cut off yardage to the right side. Be careful as the prevailing wind can lead you into the large lake. Your second shot is over the same lake to a shallow green, difficult to hold when the wind is 'with'.

Pro Tip: Good course management requires a safe tee shot towards the left centre of the fairway.

3D Flyover

PAR 5 : Handicap: Men 1; Ladies 3

ardage: Black 561; Blue 520; White 474: Red 430

Down wind, large landing area, a big hitter's hole. Long hitters can get home in two but otherwise course management is important. The new water feature on the left has turned a few eagle attempts into quick double bogies! A shallow green can affect poor approach shots as poorly struck approach shots tend to run towards the edges of the green.

Pro Tip: Position your second shot well to the right to keep the water out of play.

3D Flyover

PAR 5 : Handicap 17

Yardage: Black 185; Blue 165; White 150: Red 122

This hole is all carry over a waste area that likes to swallow golf balls. Check the wind as it is usually helping from behind.

Pro Tip: Aim slightly right as the wind will also move the ball right to left.

3D Flyover

PAR 5 : Handicap 7 (Men) 5 (Ladies)

Yardage: Black 419; Blue 392; White 372: Red 333

The longest par 4 on the course has mounds and out of bounds down the right. Aim at the tower far left in the horizon to negotiate the side winds. A good drive will still leave a long approach over a huge waste area known to some members as ``Sahara``. Par can be great here at times.

Pro Tip: Take extra club for your approach shot to the green.

3D Flyover

10 hole layout royal turks and caicos golf

PAR 4 : Handicap 12 (Men) 16 (Ladies)

Yardage: Black 408; Blue 387; White 355; Red 320

Description: Provo's original 'First Hole' is another long and tough par 4 following on from number nine. Get a drink and a snack from Fairways at the halfway point for well deserved sustenance. Your tee shot should be to the left side of the fairway to avoid tree trouble. This will leave you with a medium to long approach shot to the larger green.

Pro Tip: If your drive finds the right side of fairway then take one less club to the green.

3D Flyover

layout of 11th hole

PAR 4 : Handicap 8 (Men) 12 (Ladies)

Yardage: Black 313; Blue 310; White 266: Red 266

Description: Dog leg right with a tricky tee shot, left to right wind, a narrow hitting area between out of bounds on the right and water on the left and a small sloping green bunkered in front. It's a good thing this short par 4 is only 313 yards long.

Pro Tip: The green slopes from the back, leaving a very tricky putt from above the hole. And you don’t want to be long!

3D Flyover

12 hole layout

PAR 4 : Handicap 2 (Men) 2 (Ladies)

Yardage: Black 549; Blue 529; White 508: Red 444

Description: For many the hardest hole on the course - look out as this par 5 plays like a seven. 549 yards dead into the trade wind. This extremely narrow hole leaves you with an approach shot to a green that slopes right to left. Low straight shots are the key to success. You just want to find your golf ball and wave goodbye to The Beast!

Pro Tip: The tee shot is key, but this green is also very sneaky – fast from right to left.

3D Flyover

13 course layout Royal Turks and Caicos Golf

PAR 4 : Handicap 10 (Men) 10 (Ladies)

Yardage: Black 415; Blue 393; White 355: Red 321

Description: Hazardous to your golf score, this par 4 has trouble left, and hazard both to the right and behind the green. Tee shots should favour the right side leaving a little longer approach to the well protected green. Mounds left, waste area right and a deep narrow, sloped green make for a great test of golf.

Pro Tip: This is one green that will leave you with big breaking putts.

3D Flyover

14th hole course tour

PAR 4 : Handicap 4 (Men) 4 (Ladies)

Yardage: Black 402; Blue 395; White 375: Red 325

Description: What now? Provo's toughest par 4 and 'signature hole' plays directly into the wind. Your tee shot is over water to a fairway that slopes from the left to right and runs into a second large lake on the right side. Your second shot presents you with a long carry to a green protected by sand and water. If you make four don't look back and head straight to number 15.

Pro Tip: Take an extra club for your approach shot.

3D Flyover

14th hole course tour

PAR 4 : Handicap 18 (Men) 18 (Ladies)

Yardage: Black 118; Blue 110; White 103: Red 103

Description: This short, unique par 3 makes club selection a must. A limestone outcropping guards the narrow, elevated green with a severe slope just over the back. Do not get greedy here as a par 3 can be a good score.

Pro Tip: This green cannot be missed, you will find yourself in trouble, so take extra care with your tee shot.

3D Flyover

16 course tour

PAR 4 : Handicap 6 (Men) 6 (Ladies)

Yardage: Black 528; Blue 517; White 476: Red 439

Description: This down wind par 5 needs to be played from landing area to landing area. Long hitters can go for the well guarded green in two while others should lay up for a short wedge to the narrow, deep green. This hole is a good birdie chance but still needs to be played with respect.

Pro Tip: Approach shots will roll to the back of the green, which is always fast from front to back.

3D Flyover

17th hole course layout royal turks and caicos

PAR 4 : Handicap 16 (Men) 8 (Ladies)

Yardage: Black 163; Blue 156; White 140: Red 120

Description: This attractive, medium length par 3 plays over water into a heavy side wind from right to left. Make the correct club selection and you'll putt for a birdie; anything short will be blown into the water that runs across the front of the green

Pro Tip: Aim right off the tee to allow for the wind.

3D Flyover

PAR 4 : Handicap 14 (Men) 14 (Ladies)

Yardage: Black 400; Blue 357; White 345: Red 325

Description: Finally, you're 'bar bound'. Tee shots here should be aimed to the right side of the fairway, away from the OB. The back tee can make for an interesting and tough finishing hole. The 18th green is flat and fairly small so all birdie putts are very makeable. You have now been 'Provo-ed' - head out and try it again!

Pro Tip: Aim your approach shot for the centre of the green.

[video src="https://royalturksandcaicosgolf.com/wp-content/uploads/2023/04/Tennis-at-ROYAL-TURKS-AND-CAICOS-FAQ.mp4" /]

Course Tour